Showing posts with label Bake Sales. Show all posts

Friday, January 27, 2012

Oreo Truffles


I wrote in a recent Cookie Dough Truffles post about my desire to find egg and dairy free recipes.  We have many friends who are either lactose intolerant or have food allergies that prevent them from enjoying most of the recipes I prepare.  I am constantly aware of our friends politely refusing meals and desserts, and feeling ghastly when I suddenly remember their allergy.

This occurred once again with the Cookie Dough Truffles.  I remembered at the last minute that the recipe included condensed milk and that our friend Danny was allergic to both eggs AND milk.  This led me to a determination that I would find a truffle recipe that was both egg and dairy free.

I figured the easiest recipe to start with would be Oreo Truffles.  HA!  All Oreo Truffle recipes have CREAM CHEESE in them!  Ugh!  Well, after about an hour of sifting through what seemed like hundreds - but was probably only dozens - of recipes I decided to create a recipe of my own.  I even posted my challenge to myself on Facebook.

It came to me pretty quickly that I could substitute the cream cheese with frosting.  Kind of like cake pops, except with Oreos and no sticks.  This is what I came up with:


Gather up Oreos, frosting, chocolate chips, shortening (not pictured), and sprinkles for decorations.
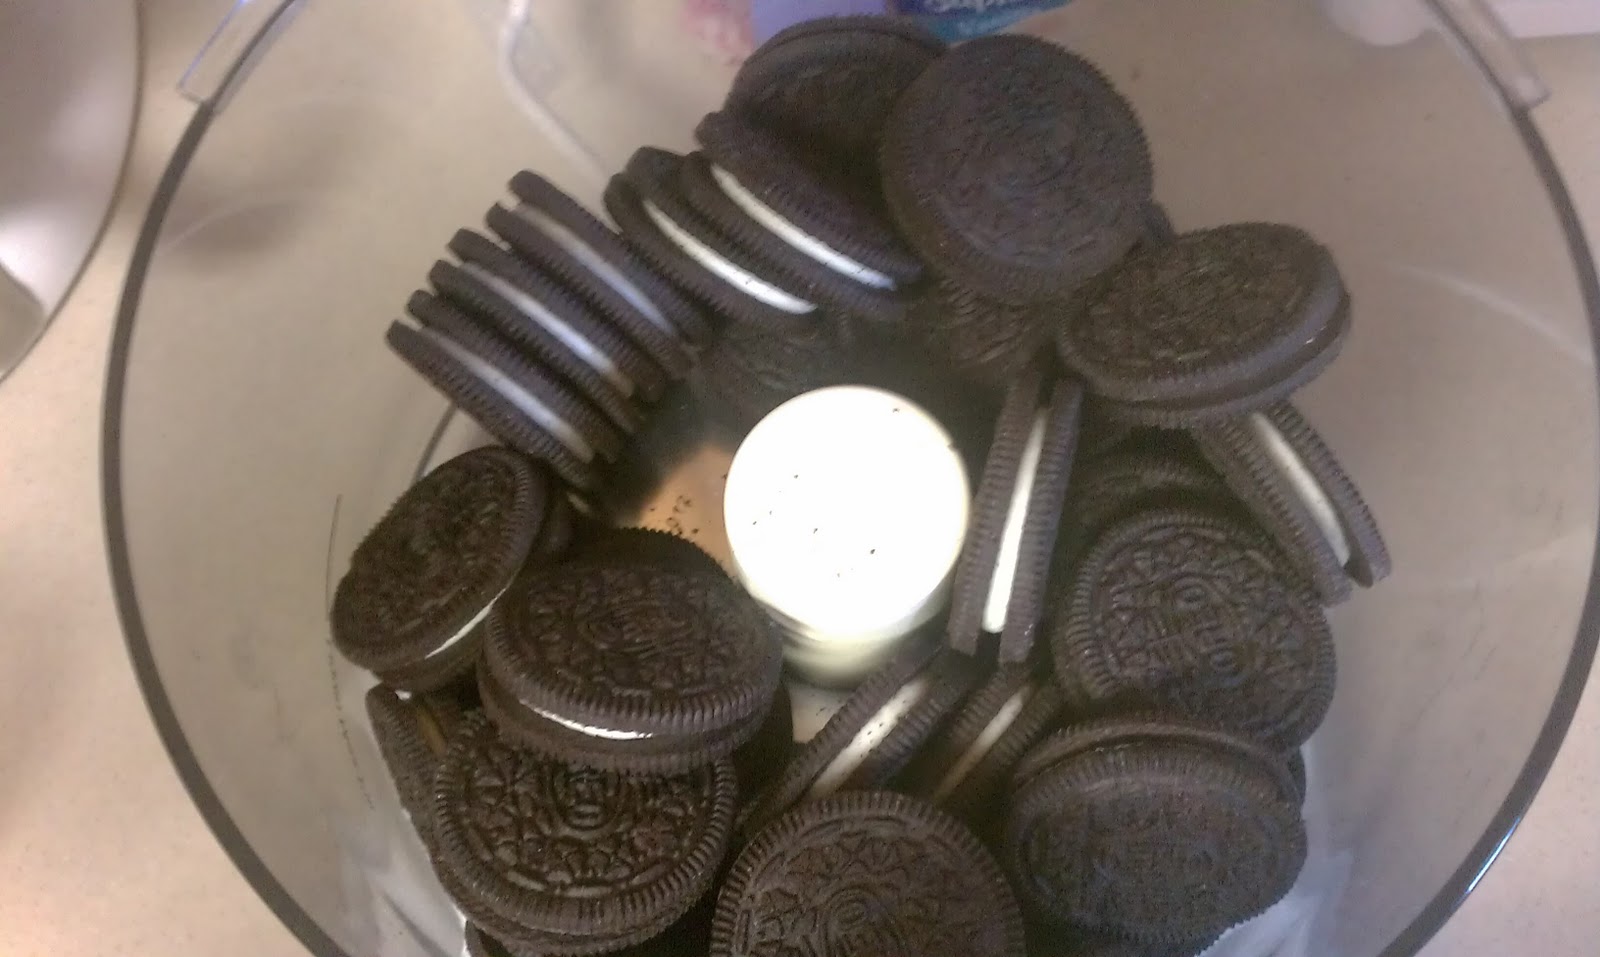

Throw the entire package of Oreos into a food processor.  Chop up until the cookies are all fine crumbs. Pour the crumbs into a mixing bowl and stir in the frosting.  Chill for at least an hour.


Using a spoon, scoop up small bits of dough and roll into 1 inch balls.


Place balls onto a wax paper lined baking sheet.  Put back into the refrigerator for at least 30 minutes, or until you are ready to dip in chocolate.


In a small bowl, combine 1 cup of chocolate chips and 1 tsp of shortening.  Microwave in 30 second bursts, stirring between every heating, until the chocolate in creamy and lump free.  You will need to prepare approximately three batches of dipping chocolate to coat all of the truffles.


Using a candy fork or spoon, dip each ball into the chocolate, coating completely.  Tap excess chocolate off before transferring on a wax paper lined baking sheet.


Before the chocolate sets, decorate as you wish.  Return to the refrigerator to chill for at least an hour.


My son really got into helping with the decorations.


Remove from the waxed paper and store in an air tight container in the refrigerator.  Serve chilled!

WARNING!  These are super sweet!  I made them way too big.  In the future I will be making them smaller.  This batch made about  three dozen.  Smaller balls will stretch the batch to make about 4-5 dozen truffles.


OREO TRUFFLES


1 pgk (approx. 39) Oreo Cookies
1 can (2 cups) Vanilla Frosting
3 cup semi-sweet chocolate chips
3 tsp shortening
Decorative sprinkles


1. In a food processor, grind Oreo cookies until they are all fine crumbs.
2. In a mixing bowl, combine cookie crumbs and frosting into a sticky dough.  Cover and chill for at least an hour.
3. Line a large baking sheet with waxed paper.  Using a spoon, scoop up small bits of dough and roll into small balls (about 1/2" - 1").  Place balls evenly spaced on the baking sheet.  Return to the refrigerator to chill for at least 30 minutes, or until you are ready to dip them in chocolate.
4. In a small, microwave-safe bowl, melt 1 cup of chocolate chips and 1 tsp of shortening at a time in 30 second bursts (stirring between every heating), until creamy and lump free.  Let sit for a few minutes to cool down so you don't melt the balls.
5. Dip each ball into the chocolate and coat completely.  Using a candy fork or spoon lift out of the chocolate and tap off excess chocolate.  Place truffle on to waxed paper lined baking sheet.  Decorate as you wish before the chocolate sets.  Return to the refrigerator.  Serve chilled.


*Store in an air tight container in the refrigerator.

Thursday, January 26, 2012

S'Mores Treat Bars


Close your eyes.  Imagine you are out in the woods, sitting around a fire and laughing with your loved ones as you hold a stick in your hand with a marshmallow perched precariously on its end.  The smell of wood smoke permeates the air.  The sound of crickets and frogs echo all around.  Memories of the sun glistening off the water as you frolicked in the shallows with your kids earlier in the day run through your mind.  Yup, that is exactly how I dream of Summer.

However, it's raining outside, so it's pretty obvious that it is NOT Summer.

That doesn't mean, though, that you can't enjoy some of the best perks of the season right now.  Of course, I am talking about S'mores!  What else would I be talking about?  I am certainly not talking about swimming in a lake (as I look outside at the veritable lake that is forming in my garden).

Now, before we get to the recipe, let me explain something about my husband.  I have said this before, but I need to reiterate this.  He does NOT have a sweet tooth.  Growing up, he was not allowed to eat candy, and that mentality has carried over into adulthood.

Don't get me wrong, his childhood wasn't sugar-free.  There was one thing he was "allowed" to eat as a child and that was Rice Krispy Treats.  His mother made them all of the time.  Everyday.  I am not joking.  He has told me that the smell was so prominent in his house that the thought of it makes his gag, even today.  He informed me a few years ago that he would really appreciate it (he used a bit more basic and hard wording) if I never made Rice Krispy Treats.

Needless to say, I was nervous about making these, but I was intrigued.  I love S'mores and have spent most of my teen years and all of my adult life keeping my eyes open for a good S'mores recipe that didn't require a fire.  I asked my husband first before I made this recipe and he said he wouldn't mind and would even try them.  With that encouragement, I rounded up the ingredients and proceeded.


Golden Grahams (which were luckily on sale at Target), butter, marshmallows, and chocolate chips and all you need.  I also used Magic Shell topping for decorative purposes, but you can melt chocolate chips for the same purpose (in face I recommend this method over the Magic Shell).


Melt 1/4 cup (1/2 a stick) of butter in a large pan.


Stir in marshmallows until completely melted.  Remove from heat.


Add cereal to the marshmallow cream and mix thoroughly.


Stir in chocolate chips briefly.  Try not to let the chocolate chips melt.


Pour into a greased 9"X13" baking pan.  Press down firmly.  Allow to cool completely.


Once cool, drizzle Magic Shell (or melted chocolate chips) over the treats and allow to set.

Cut the treats into 1"x2" pieces and serve.

The Verdict:  My husband actually liked them!


S'MORES TREATS BARS
  • 1/4 cup butter
  • 1 (10 oz) bag regular marshmallows
  • 1 box of Golden Graham cereal
  • 1-2 cups Chocolate Chips
  • Magic Shell (optional)
In a large sauce pan, melt butter over medium heat.  Add marshmallows and keep stirring until the marshmallows completely melt and you get a marshmallow sauce.  Remove from heat.

Add Golden Grahams and stir until they are all well coated.  You can chose to crush some up before adding them if you want some smaller pieces.  Next stir in chocolate chips.

Grease a 9x13 pan and press S'mores down.

Drizzle with Magic Shell for a pretty appearance.

Tuesday, January 24, 2012

Cookie Dough Truffles


Ok, raise your hand if you eat raw cookie dough.  If both hands are not raised above your head while you are jumping up and down, you are either lying, or allergic to eggs.

I love cookie dough WAY too much.  I grew up sneaking into the kitchen while my mom was baking and stealing cookie dough.  Some of my earliest memories were of my mother handing each of us a spoonful of cookie dough to prevent us from sticking our fingers in the bowl.  When they came out with cookie dough ice cream I thought it was the most brilliant invention on the face of this earth.  So brilliant, in fact, that I almost switched allegiances from Mint Chocolate Chip (not likely ever to happen, by the way).

When I first stumbled across these babies I reacted how normal cookie dough loving person would - "Ooh, I'm gonna have to try those sometime."  But then I noticed something a bit special about these.  They have no eggs in them!

You may ask why I am so hung up on the egg allergy thing?  Well, you see, we have a friend who spends an inordinate amount of time at our house.  This friend just happens to have food allergies - eggs being a prominent one.  Knowing him, and having a child with food allergies, has given me a strong resolve to find recipes without eggs or milk in them.  So this one is for you, Danny!

Edit: Poor Danny couldn't eat them because they have condensed milk in them.  Oops!


First of all, the recipe calls for brown sugar, butter, vanilla, flour, condensed milk, and mini chocolate chips.


Now, here's the thing about mini chocolate chips.  They are expensive and pretty much pointless unless you are using them for decorating.  As a substitute I take regular chocolate chips and chop them in my slap chopper.  They turn out just as small as the minis and even leave some chocolate "dust" that mix in really well with dough.


From here on out it is pretty easy.


Mix brown sugar and butter until fully incorporated...


...add vanilla and mix some more.


Add flour a cup at a time.


Mix until all of the brown sugar pieces are broken up into a fine dust.


Pour in the condensed milk, and mix until you get a consistent dough.


Stir in chocolate chips.


Cover and chill for at least one hour.  Dough will need to be very stiff.


When you are ready, using a teaspoon, scoop out a small amount of dough...


...and form into 1-inch balls.


Place them on a waxed paper lined cookie sheet.  Place them back in the fridge to chill until you are ready to dip them.


Meanwhile, put 1 cup of chocolate chips and 1 tsp of shortening into a microwave safe bowl.

Microwave on high in 30 second bursts.


Stir until smooth.


Drop each ball into the chocolate...


Using a candy fork, roll the balls around to coat completely.  Pick it up and let the excess drip off for just a second.  Don't let it sit for too long as the chocolate is warm and can cause the balls to lose their form.


Transfer the balls back onto a wax paper lined cookie sheet.


Let chill until set.  After they are set store them in an air tight container in the refrigerator.

Hope you enjoy these as much as my family did.  I know that my two year old enjoyed "painting" his face with them.


Ingredients:

1/2 cup salted butter, at room temperature
3/4 cup light brown sugar, packed
1 teaspoon vanilla extract
2 cups all-purpose flour
1 (14 ounce) can sweetened condensed milk
1 cup semi-sweet chocolate chips
1 cup of semi-sweet chocolate chips
1 tsp of shortening

Directions:

1. In a large bowl, use electric mixer to cream together butter and brown sugar. Add vanilla. Beat in flour, 1 cup at a time, until it is incorporated and you no longer see chunks of brown sugar (if you spot any, just squish them). Beat in sweetened condensed milk and mix until well-combined. Stir in 1 cup of chocolate chips.
2. Cover bowl and refrigerate until dough is firm (at least 1 hour- maybe more... you want the dough to be quite firm). Use a small cookie scoop or teaspoon to scoop out small amounts, roll into balls and place on a waxed paper-lined cookie sheet. Place all of the rolled balls back into the refrigerator until you are ready to dip them in chocolate.
3. Melt chocolate chips and shortening in the microwave in 30 second bursts, stirring after each heating time, until smooth. Use a candy fork or spoon to help you dip the chilled dough ball into the chocolate and roll it around to cover all sides. Place it on a waxed paper-lined platter.  Repeat with the rest of the dough balls. They'll begin to set pretty quickly. Keep them refrigerated until ready to serve.

Tuesday, December 6, 2011

Ham and Cheese Rolls


Prior to my marriage, which also means WAY before I had kids, every Sunday I would stop by the local bakery on my way to church and buy a Ham and Cheese Croissant.  It was a tradition that I really enjoyed and can look back on longingly.  Hot ham and cheese just give off a sense of comfort to me.

That being said, another comfort to me is baking.  I love parties because then I can bake and not have to keep the food in the house.  Whenever my turn comes around to savories though, I am usually at a loss.  My appetizers run a be exotic (and expensive) so this year I was determined to find a savory finger food that everyone would enjoy and would match my current budget.

This idea came in a round about way from a friends post on Pinterest.  I saw a recipe for pizza roll-ups (which I will do as well some day) and thought that Ham and Cheese sounded better.


So off to the store I went to buy what ever was on sale!  Yeah, I am that cheap sometimes.


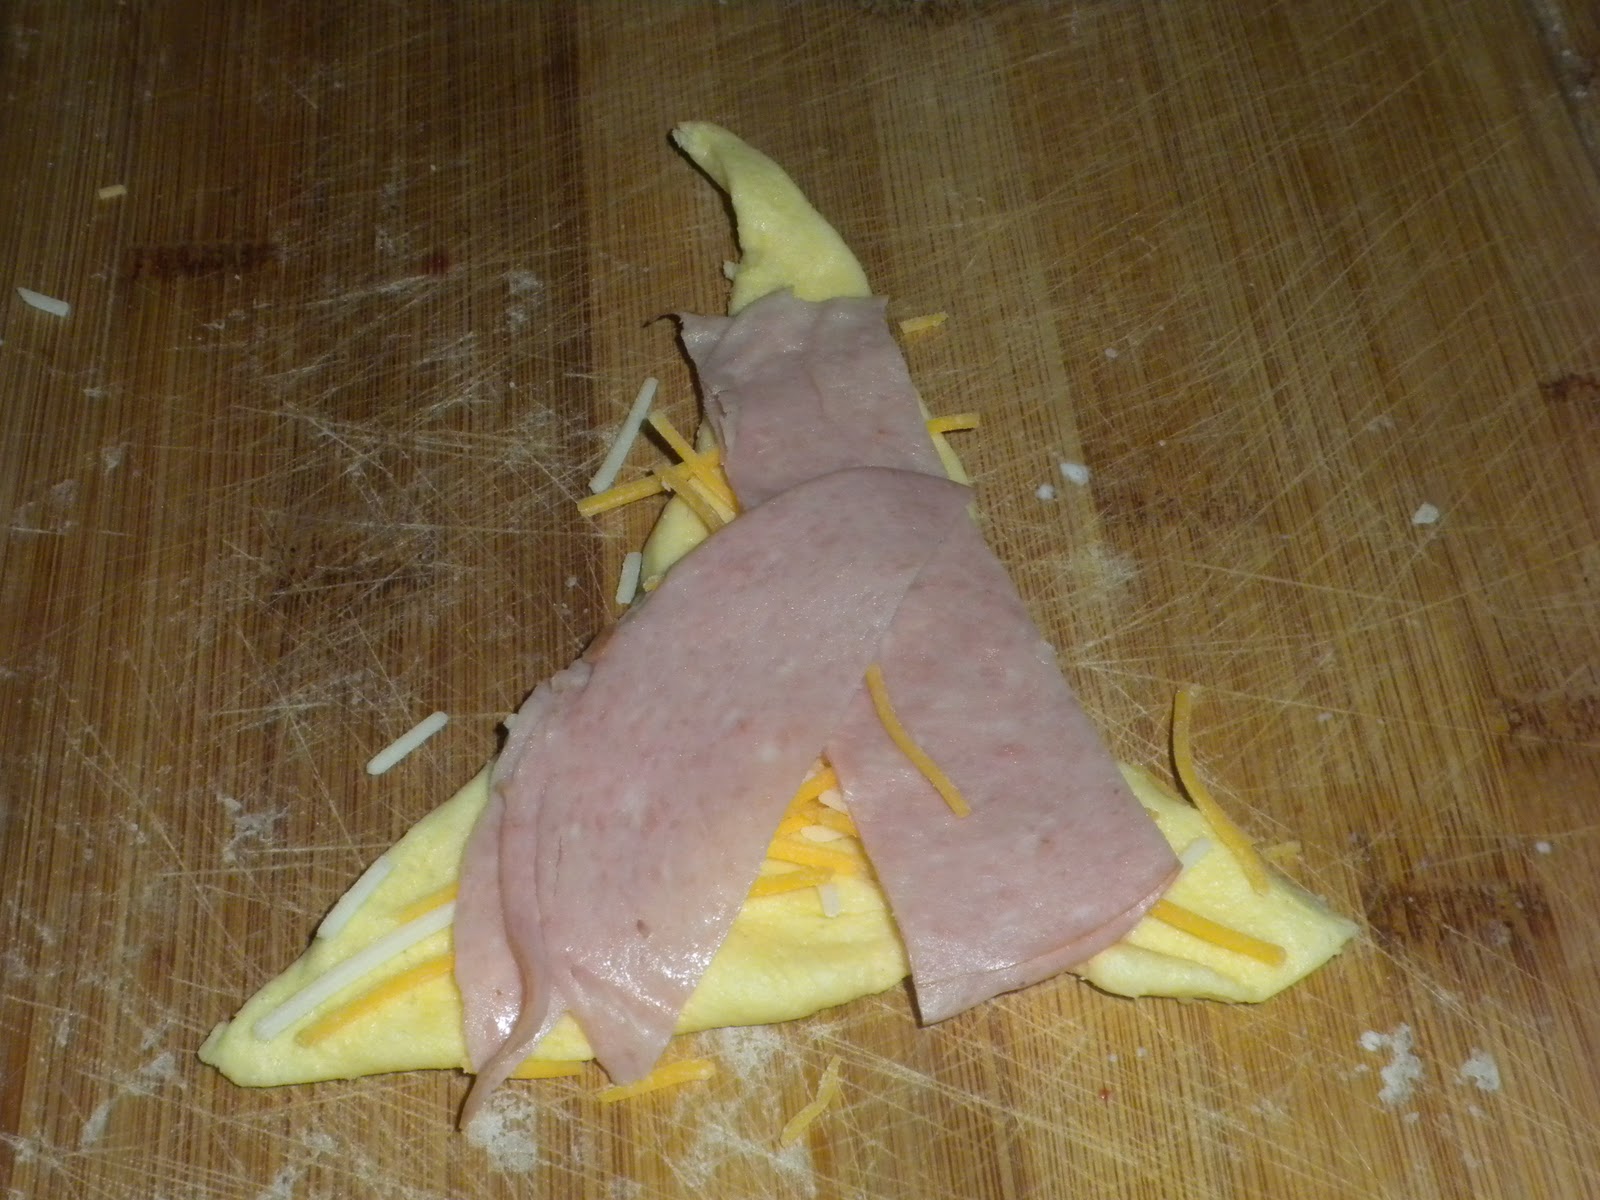
I cut the Ham in to quarter strips...


...unrolled the dough and sprinkled on some cheese.  I used the Triple Cheddar because, let's face it, Ham and Cheddar just go together.


I arranged the ham on the top to gain full coverage.  I started to use several strips of ham per roll, but in the end I realized that three strips in really all that is needed.


Roll the dough starting at the wide end.


It doesn't matter if some of the filling in hanging out.  That actually makes it look yummier.  Tuck the ends in a little to slightly curve the roll.


Arrange on an ungreased cookie sheet and bake for 10-12 minutes.

Serve these little babies hot or cold.  Both ways they are yummy!

Monday, December 5, 2011

M&M Sugar Cookies


I know I am not the only mom that runs into this issue.  You go to the grocery store and walk by the bakery section and you hear your kids start chanting "Cookies!  Cookies!  Cookies!".  If your kids are anything like my sons, when you finally relent and take them to pick out a cookie, their choice is usually whatever has the most candy on it.  The cookie of choice for my sons is hands down M&M Cookies.

In the past I have attempted to replicate these cookies to little success.  It wasn't until recently that my 4 year old actually gave me the idea on how to manage it.  I was making sugar cookies to decorate and my son looked at me and said "These would be really good with M&M's."  The light practically blinded me, it went on so fast.


Now, my advise to you is find your favorite sugar cookie recipe and use that.  As I was working on a limited time frame, I bought the Pillsbury Sugar Cookie dough.


After preheating the oven, roll the dough into 1-inch balls and place on an ungreased cookie sheet 2 inches apart.


Bake cookies for 8 minutes.  This will allow the cookies to flatten slightly and give you more space to place the optimal amount of M&M's.  According to my son, M&M's are the whole point of this cookie.


Bake for an additional 5 minutes.  Let the cookies cool slightly on the tray before transferring to a wire rack.  Cool completely and store in an air tight container.

These cookies came out a little crispier than I would have liked, but using your favorite sugar cookie recipe will help you adjust for preference.